

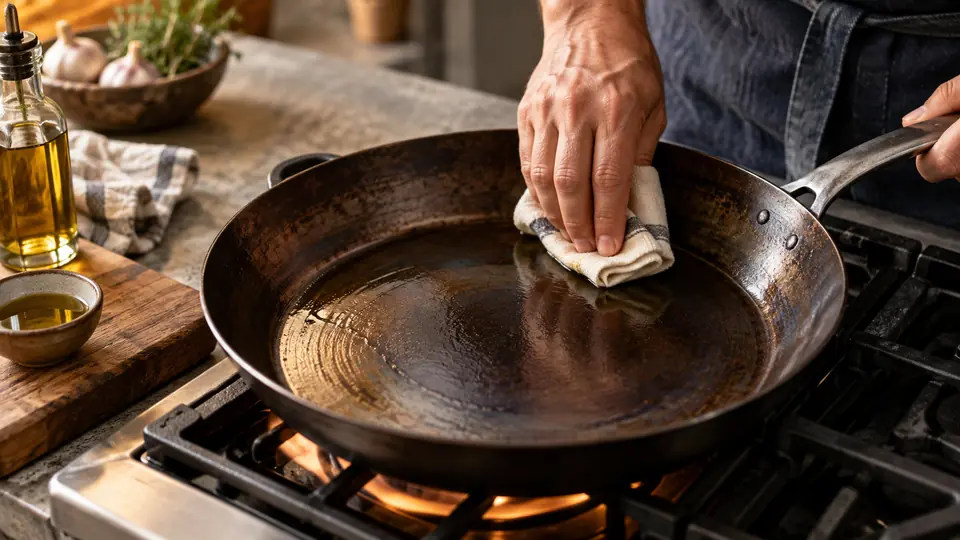
A carbon steel pan does not need to look perfectly black and flawless to cook well, but there are times when the surface clearly needs a reset. Flaking seasoning, sticky patches, widespread rust, or a pan that suddenly grabs onto food after months of decent performance are all signs that it may be time to re-season it properly.
Knowing how to re-season a carbon steel pan matters because seasoning is not just cosmetic. That dark layer helps protect the steel from rust and creates the smoother cooking surface carbon steel is known for. When the layer becomes uneven or damaged, the pan can become harder to use and more vulnerable to moisture.
The good news is that re-seasoning is usually straightforward. In most cases, you do not need special tools or harsh chemicals. A thorough cleaning, removal of loose or damaged buildup, a very thin coat of oil, and controlled heat will usually bring the pan back into good working shape. The process is less about perfection and more about building a stable base layer that improves with regular cooking.
Quick Answer
To re-season a carbon steel pan, first remove any rust, sticky residue, or flaking seasoning by scrubbing the pan clean. If the old seasoning is badly damaged, strip it back until the surface feels smooth and clean. Dry the pan completely, then apply a very thin layer of high-smoke-point oil over the entire surface, inside and out. Wipe off as much excess oil as possible so the pan looks almost dry.
Heat the pan on the stovetop or in the oven until the oil darkens and bonds to the metal. Let it cool, then repeat the process for 1 to 3 rounds if needed. After re-seasoning, cook a few fatty, lower-risk foods such as onions or potatoes before expecting delicate foods like eggs to release easily.
If you are learning how to re-season a carbon steel pan after rust or heavy sticking, focus on three things: remove damaged buildup completely, use much less oil than you think, and make sure the pan is fully dry before seasoning. Those three steps prevent most re-seasoning problems.
Why Re-Seasoning Matters
Seasoning is a thin, hardened layer of oil that has bonded to the metal through heat. This process is often called polymerization. In simple terms, the oil changes under heat and forms a protective coating that helps reduce rust and improves food release over time.
Carbon steel is reactive bare metal. Without a good seasoning layer, it can rust quickly if moisture sits on the surface. It can also stick more easily, especially with proteins or starchy foods.
Re-seasoning gives the pan a fresh foundation. It will not instantly make the pan perfectly nonstick, but it restores protection and helps the cooking surface recover. With normal use after that, the seasoning usually becomes more even and reliable.
Signs Your Pan Needs Re-Seasoning
- Rust spots that return after cleaning
- Sticky areas that feel tacky even when the pan is cool
- Flaking seasoning that comes off onto food or towels
- Patchy bare metal across large areas of the pan
- Persistent sticking that does not improve with proper preheating and oil use
- Burnt, uneven buildup from overheated oil or sugary sauces
A pan with minor discoloration does not always need a full reset. Carbon steel often develops a mottled appearance, and that is normal. Re-seasoning is most useful when the surface is unstable, rough, rusty, or no longer performing well.
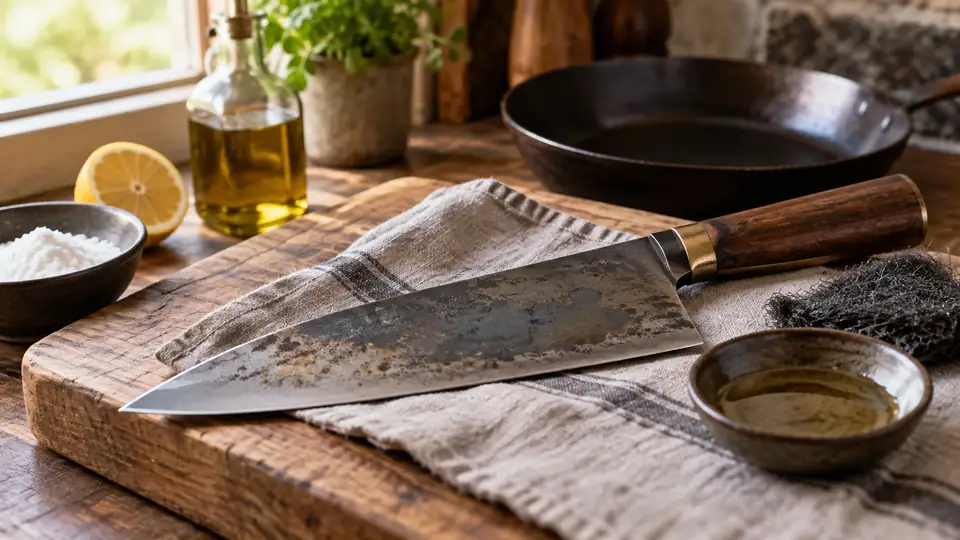
Tools and Materials Needed
You do not need much to re-season carbon steel, but it helps to gather everything before you start.
| Item | Purpose | Notes |
|---|---|---|
| Dish soap | Removes grease and residue | Useful during re-seasoning prep, even if you avoid soap in routine care |
| Scrubber or sponge | Cleans off loose seasoning and grime | Use a non-abrasive or moderately abrasive scrubber as needed |
| Steel wool or chain mail scrubber | Removes rust or stubborn buildup | Helpful for more damaged pans |
| Paper towels or lint-free cloth | Drying and wiping oil | You will use more than expected because excess oil must be removed well |
| High-smoke-point oil | Creates the seasoning layer | Grapeseed, canola, sunflower, avocado, or refined vegetable oil all work |
| Heat source | Bonds the oil to the metal | Use a stovetop, oven, or both |
| Tongs or oven mitts | Safe handling | The pan and handle get very hot |
Optional but Helpful
- Baking soda for stubborn residue
- White vinegar for rust removal
- A baking sheet and foil if using the oven
- Coarse salt for light scrubbing
Before You Start: Decide How Much of the Old Seasoning to Remove
Not every pan needs to be stripped to bare metal. The right starting point depends on the condition of the surface.
Light Re-Seasoning
If the pan has a few dull spots, a slightly uneven look, or some mild sticking but no rust or flaking, you can usually clean it well and add a new layer of seasoning over the existing surface.
Partial Reset
If there are sticky patches, some rust, or rough areas of burnt buildup, remove the damaged sections and smooth out the cooking surface before adding new seasoning. This is one of the most common cases.
Full Reset
If the seasoning is badly flaking, thick and gummy, or rust covers large areas, strip the pan more aggressively and start over. A fresh base works better than trying to build over unstable layers.
How to Re-Season a Carbon Steel Pan Step by Step
Step 1: Wash the Pan Thoroughly
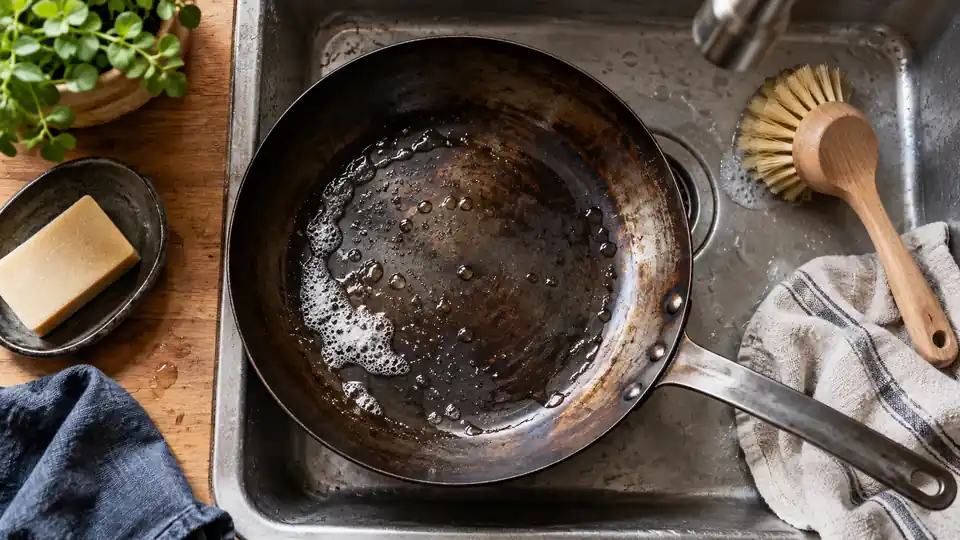
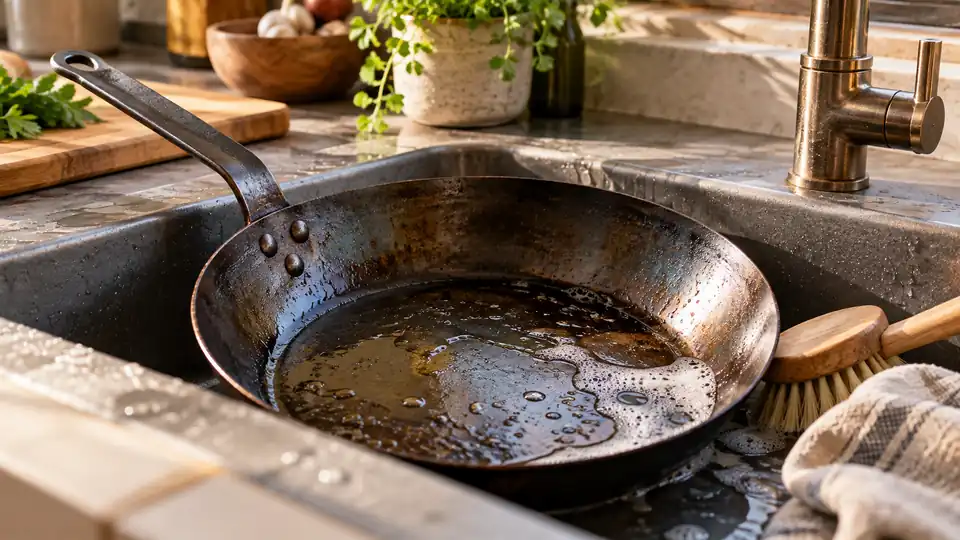
Start by washing the pan with warm water, dish soap, and a scrubber. This is one of the few times when soap is not just acceptable but helpful. You want to remove grease, old cooking residue, and any loose material on the surface.
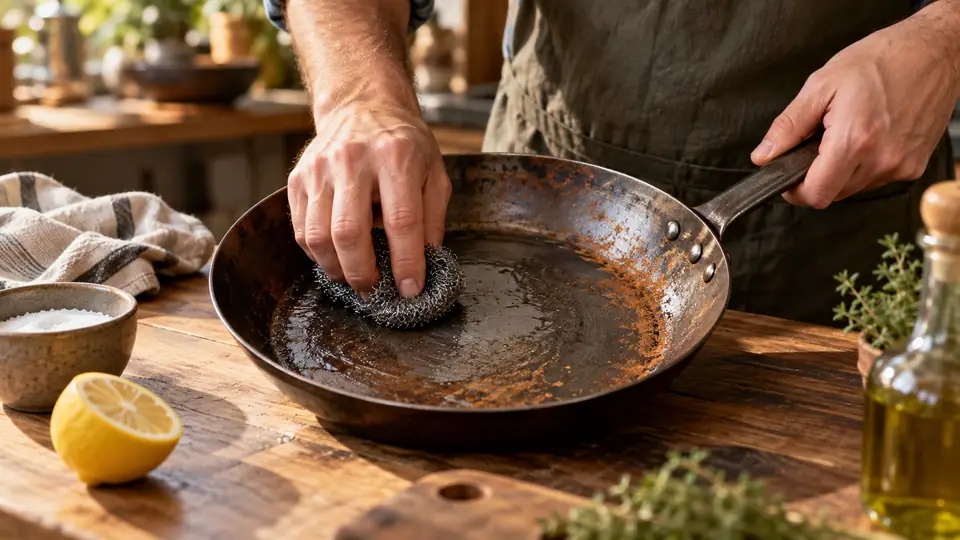
If the pan has sticky buildup, keep scrubbing until that tacky feeling is reduced or gone. For heavier residue, use a stronger scrubber, steel wool, or coarse salt. The goal is a clean surface, not a polished showroom finish.
Step 2: Remove Rust, Flakes, and Loose Seasoning
Inspect the pan closely after washing. Any rust, peeling, or thick burnt patches need to come off before new seasoning goes on. New layers stick best to clean, stable metal or firmly bonded old seasoning.
For light rust, steel wool or a stiff scrubber is often enough. For more stubborn rust, make a paste with baking soda and water, or use a brief vinegar treatment. If using vinegar, do not soak the pan for long periods. Acid can also start eating into bare steel if left too long.
Once the damaged material is gone, the surface should feel reasonably smooth. It may look patchy, silver in places, brown in others, and that is fine.
Step 3: Rinse and Dry Completely
After scrubbing, rinse the pan well and dry it immediately. Then place it over low heat for a few minutes to drive off any remaining moisture. This step matters because carbon steel can begin rusting quickly, sometimes almost immediately, if water is trapped around rivets or along the cooking surface.
Do not move on while the pan is even slightly damp. Hidden moisture is one of the easiest ways to ruin a fresh seasoning layer.
Step 4: Apply a Very Thin Layer of Oil
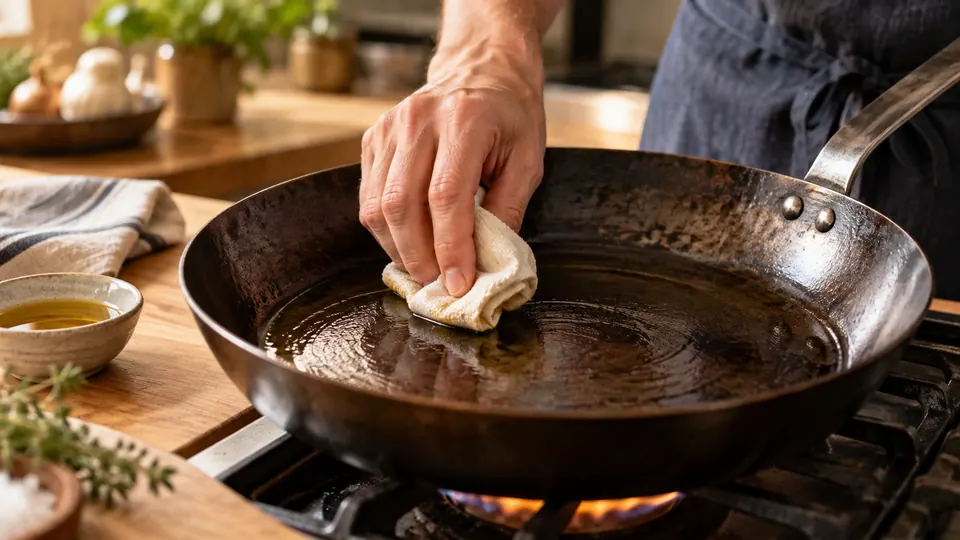
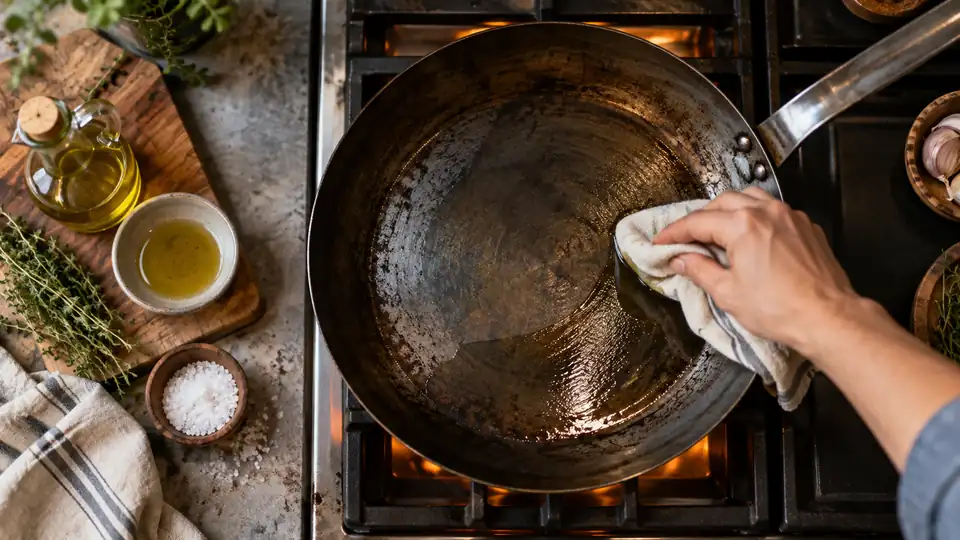
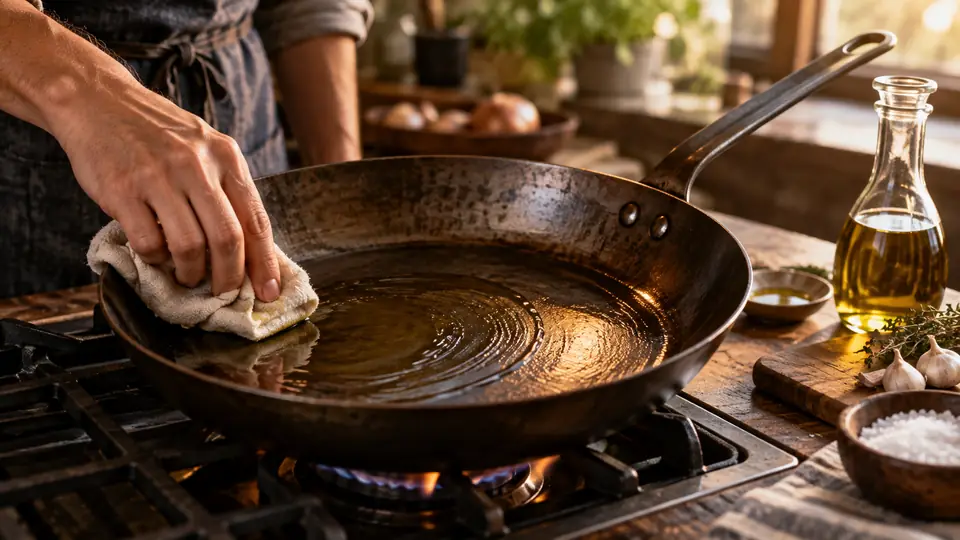
Add a small amount of oil to the pan, usually less than a teaspoon for many skillets, then spread it over the entire pan. Coat the cooking surface, sides, outer bottom, and handle if the manufacturer allows it to be seasoned. Then take a clean towel or paper towel and wipe off the oil aggressively.
This is the step that causes the most trouble. The pan should not look wet or glossy. It should look almost dry, as though you are trying to remove the oil you just added. Thick oil creates sticky, uneven seasoning instead of a hard layer.
Step 5: Heat the Pan to Bond the Oil
You can do this on the stovetop or in the oven. Both methods work. The better choice depends on your pan shape, your stove, and whether you want more even coverage.
Stovetop Method
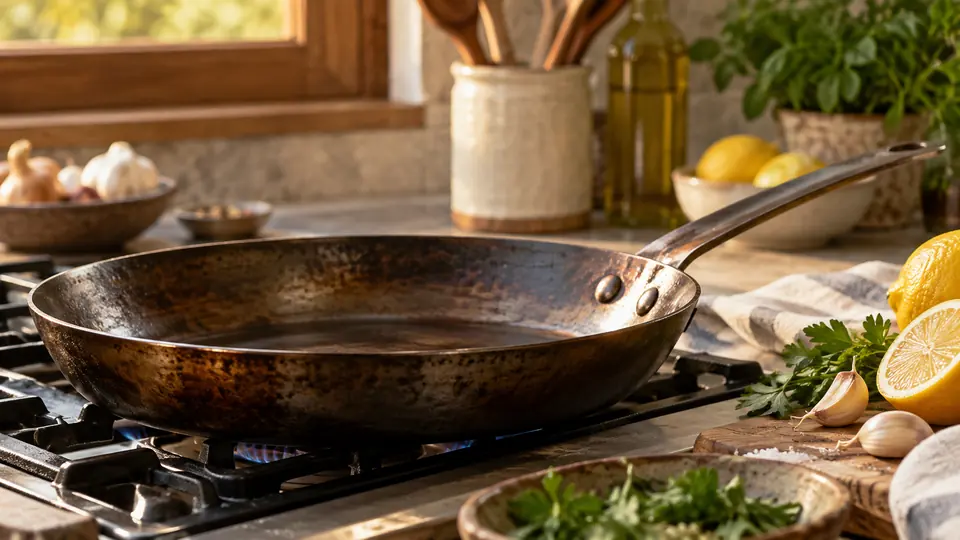
Place the oiled pan over medium to medium-high heat. As it heats, the oil will begin to smoke lightly and the color may darken. Rotate the pan carefully if your burner heats unevenly, especially with round-bottom or sloped-side pans.
Keep heating until the smoking slows and the surface looks drier. Then let the pan cool. This method is quick and works especially well for touch-ups or smaller skillets, but it can create uneven seasoning if the burner concentrates heat in the center.
Oven Method
Preheat the oven to a temperature appropriate for your oil, often around 450 to 475 degrees Fahrenheit. Place the pan upside down on the oven rack, with foil or a tray below to catch drips. Bake for about 45 minutes to 1 hour, then turn off the heat and let the pan cool in the oven.
The oven method often gives more even coverage, especially on the sides and outer surface. It is a good option after a full reset.
Step 6: Repeat if Needed
One round is enough to protect the pan, but 2 or 3 rounds can help establish a better base if the pan was stripped down significantly. More is not always better. Thin, well-bonded layers outperform thick, rushed ones.
Do not expect the pan to turn uniformly black right away. Some pans darken quickly, others stay bronze or brown for a while. Performance matters more than color.
Step 7: Start Cooking Carefully
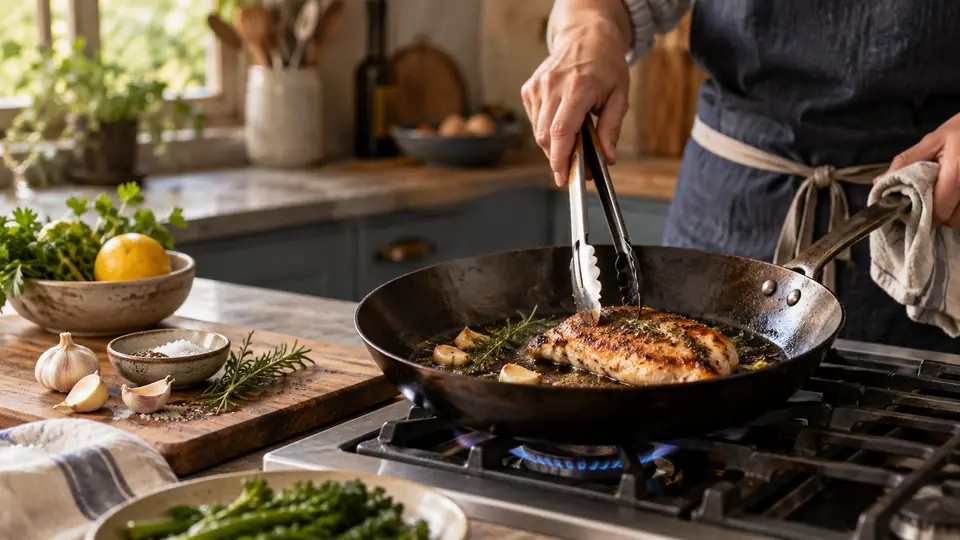
After re-seasoning, choose easy foods for the first few cooks. Sautéed onions, potatoes, pancakes with enough fat, or skin-on chicken can help build the surface. Delicate eggs or sugary marinades are not ideal test cases for a freshly re-seasoned pan.
Use enough oil, preheat the pan properly, and avoid overheating it while the new seasoning is still settling in.
Stovetop vs Oven Re-Seasoning
| Method | Best For | Advantages | Possible Drawbacks |
|---|---|---|---|
| Stovetop | Quick touch-ups, smaller pans, routine maintenance | Fast, simple, no need to heat the whole oven | Can season unevenly over small burners |
| Oven | Full re-seasoning, larger pans, more even coating | Better all-over coverage, useful after stripping | Takes longer, not ideal for pans with oven limits on handles |
Some cooks combine both methods. They do a full oven seasoning after a reset, then use stovetop touch-ups as the pan develops through normal cooking.
Best Oils for Re-Seasoning
The exact oil matters less than people sometimes assume. What matters more is using a thin layer and proper heat. Still, some oils are easier to work with than others.
Good Choices
- Grapeseed oil
- Canola oil
- Sunflower oil
- Refined avocado oil
- Generic vegetable oil
Less Ideal Choices
- Butter, because milk solids burn
- Unrefined flaxseed oil, because it can create brittle seasoning on some pans
- Olive oil, especially extra virgin, because of its lower smoke point and tendency to get tacky if applied too heavily
If your pan has been frustrating to season, the issue is often technique rather than the oil itself. Too much oil is more damaging than choosing a decent but imperfect oil.
Common Mistakes When Re-Seasoning Carbon Steel
Using Too Much Oil
This is by far the most common mistake. Excess oil does not create a stronger seasoning layer. It creates sticky spots, beads, streaks, and soft buildup that later flakes off.
Not Removing Damaged Seasoning First
Fresh seasoning will not fix old seasoning that is already peeling or gummy. New layers need a stable surface underneath.
Leaving Moisture on the Pan
Even a small amount of trapped moisture can lead to flash rust or interfere with how the oil bonds. Always heat-dry the pan before oiling.
Expecting a Perfectly Even Black Finish
Carbon steel rarely looks perfect in daily use. A patchy brown-black finish is normal. A pan can cook beautifully while looking visually uneven.
Cooking Acidic Foods Too Soon
Tomatoes, wine-heavy sauces, vinegar-based reductions, and long simmers can strip or weaken fresh seasoning. Wait until the pan has built up some cooking history again.
Testing with Eggs Immediately
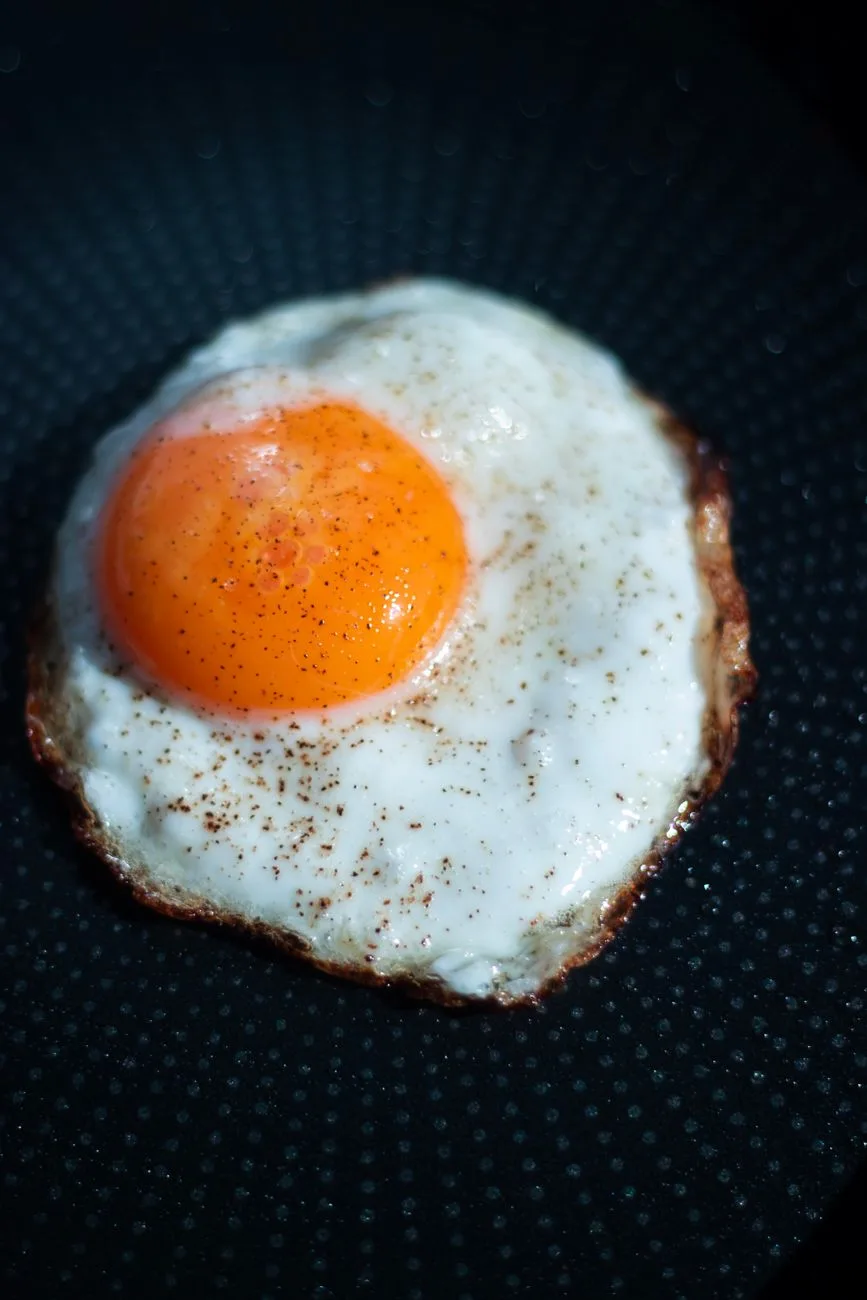
Eggs are often treated as the proof of a well-seasoned pan, but they are not the best first test after re-seasoning. Start with forgiving foods and let the surface continue to improve.
How to Handle Specific Re-Seasoning Problems
The Pan Feels Sticky After Seasoning
This usually means too much oil was left on the surface or the oil did not get hot enough to fully bond. Wash or scrub the sticky layer back, dry the pan thoroughly, and re-season with a much thinner coat.
The Pan Looks Blotchy
Blotchy color alone is not a problem. If the surface feels smooth and cooks well, keep using it. Carbon steel often evens out over time.
The New Seasoning Flakes Off
Flaking usually means the old base layer was unstable, or too much oil created a thick coating. Scrub back to a more solid surface and rebuild with thinner layers.
Rust Appears Right After Cleaning
This often happens when the pan is air-dried instead of heat-dried, or when the seasoning layer is still too thin. Remove the rust, dry the pan over heat, and apply a fresh protective layer.
Food Still Sticks After Re-Seasoning
Seasoning helps, but cooking technique matters just as much. Preheat the pan properly, add oil after preheating, and give food time to release naturally. A newly re-seasoned pan may also need a few cooking sessions before performance improves.
Maintenance Tips After You Re-Season the Pan
Once you learn how to re-season a carbon steel pan, the next step is preventing the need for full resets too often. Good routine care keeps the surface stable and saves time.
| Maintenance Habit | Why It Helps |
|---|---|
| Dry the pan immediately after washing | Reduces rust risk |
| Heat-dry for a minute or two | Removes hidden moisture |
| Apply a trace of oil after cleaning if needed | Adds light protection between uses |
| Avoid long acidic cooks in a newer seasoning layer | Prevents stripping |
| Use moderate heat instead of blasting the pan empty | Prevents scorching and seasoning damage |
| Cook with some fat during the rebuilding phase | Helps the surface improve naturally |
Pre-seasoned pans can shorten the setup period for new cookware, and readers comparing options may find it useful to look at pre-seasoned carbon steel pans. Even those pans may still need touch-ups or re-seasoning later, since seasoning changes with use.
When a Full Strip Is Better Than a Touch-Up
Touch-up seasoning works well for minor wear, but some pans are better off starting clean. A full strip is worth considering if the surface has layers of old burnt oil, heavy stickiness, deep rust, or seasoning that lifts in sheets.
Trying to save badly compromised seasoning often takes longer than removing it. If the pan cooks worse after multiple touch-ups, that usually points to an unstable base. Starting over can actually be the faster solution.
Frequently Asked Questions
Do I need to strip my carbon steel pan to bare metal every time I re-season it?
No. If the seasoning is mostly intact and only has a few weak spots, you can usually clean the pan well and add a fresh layer. Full stripping is more useful when the surface is flaking, sticky, or rusted over larger areas.
How many times should I season a carbon steel pan after stripping it?
Usually 1 to 3 thin rounds are enough to create a solid starting layer. After that, regular cooking continues to build the seasoning naturally. More layers are not automatically better if they are applied too heavily.
Why is my carbon steel pan still sticking after I re-seasoned it?
Fresh seasoning does not guarantee immediate nonstick performance. Preheating, oil amount, food choice, and cooking temperature all matter. The pan may also need a few cooking sessions before the surface settles in.
Can I use soap on a carbon steel pan before re-seasoning?
Yes. Soap is useful when you are preparing the pan for re-seasoning because it helps remove grease and old residue. Routine day-to-day care is a separate question, but for re-seasoning prep, soap is completely appropriate.
What color should a properly re-seasoned carbon steel pan be?
It may be bronze, brown, dark gray, or patchy black. Color varies by pan, oil, heat source, and cooking history. A smooth, dry-feeling surface that resists rust is more important than a perfectly even color.
Final Thoughts
Learning how to re-season a carbon steel pan is mostly about fixing the surface in the right order. Clean off what is damaged, dry the pan completely, apply very little oil, and use enough heat to bond that oil to the steel. That sequence solves most seasoning problems.
A newly re-seasoned pan may not look perfect, and it may not behave like a polished nonstick skillet on the first meal. That is normal. Carbon steel improves through repeated use, especially when the surface is kept dry, lightly protected, and not overloaded with thick oil layers.
If your pan has become rusty, sticky, or unreliable, re-seasoning gives it a fresh start. In many cases, a careful reset is all it takes to bring carbon steel back to the responsive, durable cookware it is known for.

Leave a Reply