

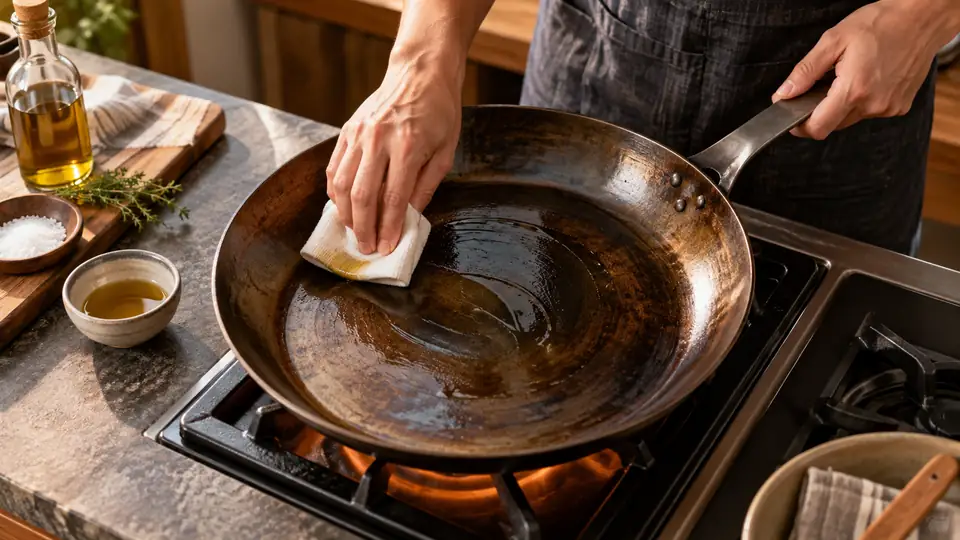
A carbon steel pan rewards a little care at the start. The first seasoning layer helps build a smoother cooking surface, improves food release, and gives the metal some protection against rust. If that first layer is rushed or uneven, the pan can still work, but it may stick more, stain more easily, and take longer to settle into reliable everyday use.
The process is straightforward once you understand what is happening. You clean the pan, dry it fully, apply a very thin coat of oil, and heat it until the oil bonds to the surface. Repeating that cycle a few times builds a darker, tougher layer over time. A good seasoning job does not make the pan nonstick in the same way as coated cookware, but it does make carbon steel much easier to cook with and maintain.
Quick Answer
To season a carbon steel pan, first wash off any factory residue, then dry the pan completely and warm it gently so no moisture remains. Rub on a very thin layer of a neutral, high-smoke-point oil, then heat the pan until the oil polymerizes and forms a thin protective coating. Let it cool, wipe away any excess, and repeat the process a few times if needed.
The key is to use very little oil. A thick layer leaves the pan sticky or blotchy instead of smoothly seasoned. The goal is not to soak the pan, but to bond a thin film to the metal. If you want a pan that is ready to cook with sooner, a pre-seasoned carbon steel pan can shorten the learning curve, but even those pans often improve with a few rounds of seasoning at home.
Why Seasoning Matters
Seasoning is more than a dark color on the surface. It is a layer of oil that has been heated until it changes chemically and bonds to the steel. That layer helps reduce sticking, slows down oxidation, and makes the pan easier to clean after cooking.
Carbon steel is durable, but bare steel reacts quickly to moisture. Without seasoning, the surface can rust if it is left damp, and food is more likely to grab onto the metal. A properly seasoned pan is not maintenance-free, but it is much more forgiving in daily use.
Seasoning also improves over time. Each round of cooking adds to the surface, especially when you cook foods that use oil and heat evenly, such as eggs, potatoes, fish, or stir-fried vegetables. That is why many cooks think of seasoning as a process, not a one-time event.
Tools and Materials Needed
- Carbon steel pan
- Warm water
- Mild dish soap, if needed for factory coating removal
- Sponge or soft scrub pad
- Clean towel or paper towels
- Stovetop or oven
- Neutral oil with a relatively high smoke point, such as canola, grapeseed, sunflower, or avocado oil
- Oven mitts or heat-safe gloves
You do not need special seasoning products to get started. The basics are enough for most pans. A clean, dry pan and a thin coat of oil matter more than the exact brand of oil.
How to Season a Carbon Steel Pan Step by Step
1. Remove the factory coating
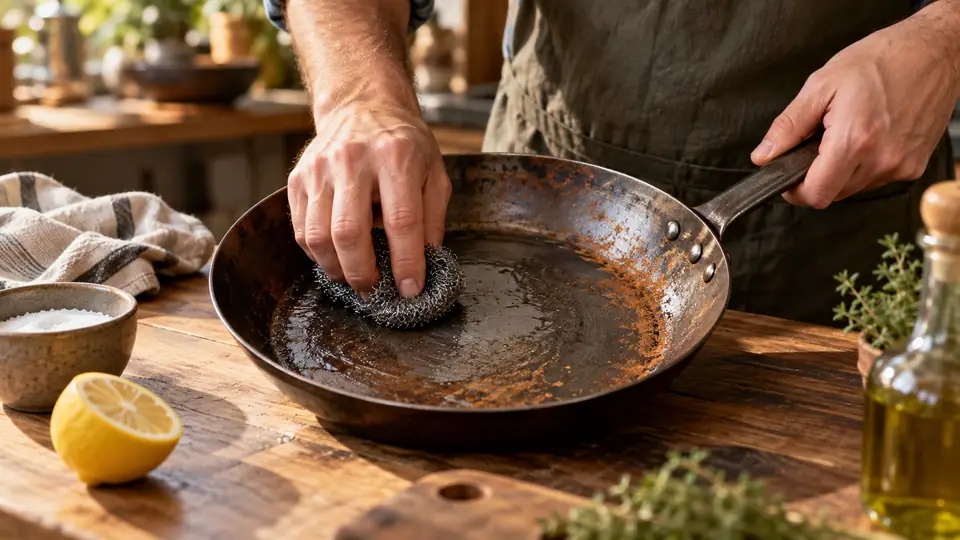
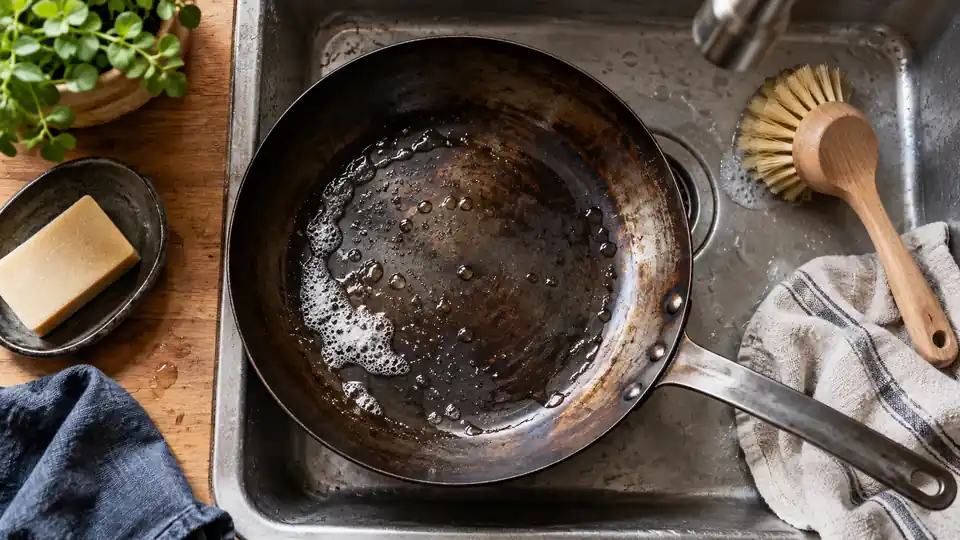
Many carbon steel pans arrive with a protective coating from the factory. That coating helps prevent rust during shipping and storage, but it is not meant for cooking. Wash the pan with warm water and a small amount of dish soap if needed, then scrub gently until the surface feels clean.
Some pans have a waxy or oily film that comes off more easily with hot water. If the surface still feels slick after washing, clean it again. The pan should look and feel free of residue before you move on.
2. Dry the pan completely
Moisture is the enemy at this stage. After washing, dry the pan with a towel, then place it over low heat for a few minutes to drive off any remaining water. Even a few droplets can leave spots or create flash rust on bare steel.
When the pan is fully dry, it should look dull and clean, not damp or smeared. This step is simple, but it prevents many early seasoning problems.
3. Warm the pan slightly
Before applying oil, warm the pan gently. A lightly warmed surface helps the oil spread into a thinner, more even film. You do not want the pan so hot that the oil smokes the moment it touches the metal.
Warm steel also makes it easier to see coverage. If the oil disappears in patches, that is normal, but you should still be able to wipe the pan back to a very thin sheen.
4. Apply a very thin layer of oil
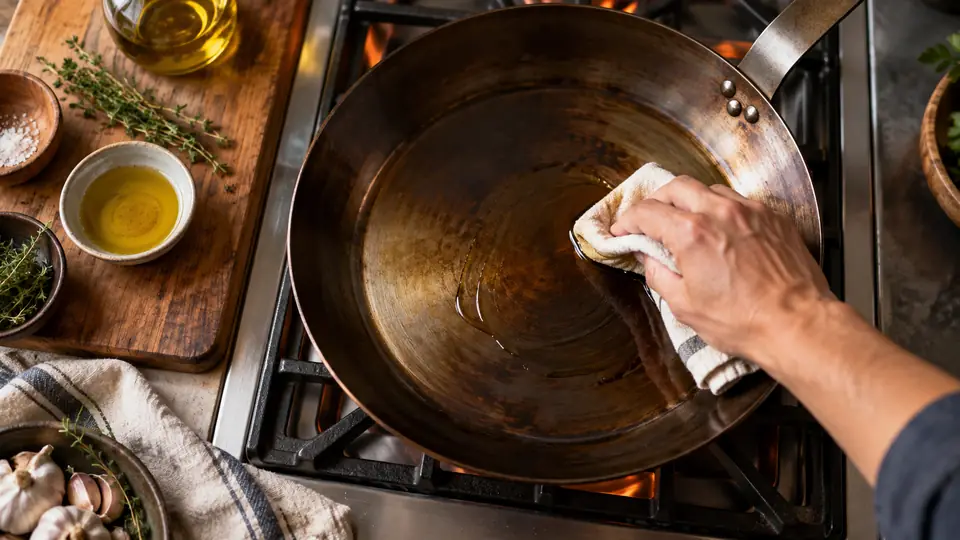
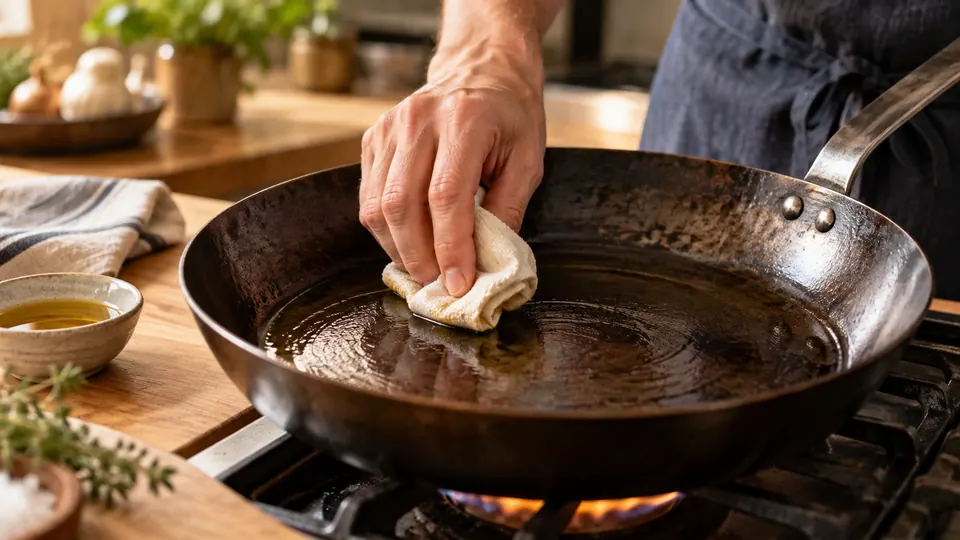
Put a small amount of oil on a folded paper towel or clean cloth, then rub it over the entire cooking surface, including the sides and exterior if you plan to season those as well. Once the oil is spread, use a fresh towel to wipe away as much as possible. The pan should look almost dry.
This is the step where many people use too much oil. If the pan looks wet, the coating is likely too thick. Thin layers polymerize more evenly and create a tougher finish.
5. Heat the pan until the oil bonds
You can season a carbon steel pan on the stovetop or in the oven. Both methods work. Stovetop seasoning gives you more control, while oven seasoning helps coat larger areas more evenly.
For stovetop seasoning, place the pan over medium heat and let it warm until the oil starts to smoke lightly. Move the pan around so the heat reaches the full cooking surface. For oven seasoning, place the pan upside down on the middle rack with a tray below it to catch drips, then heat it at a moderate-high temperature until the oil bonds and darkens.
The exact temperature depends on your oil and your oven, but the point is the same: the oil should heat enough to polymerize without leaving a gummy residue. If the pan smokes heavily or smells harsh for a long time, the layer may be too thick or the heat too high.
6. Let the pan cool
After heating, let the pan cool naturally. Do not run it under water, since that can shock the metal and create rust risk. Once it is cool enough to handle, inspect the surface.
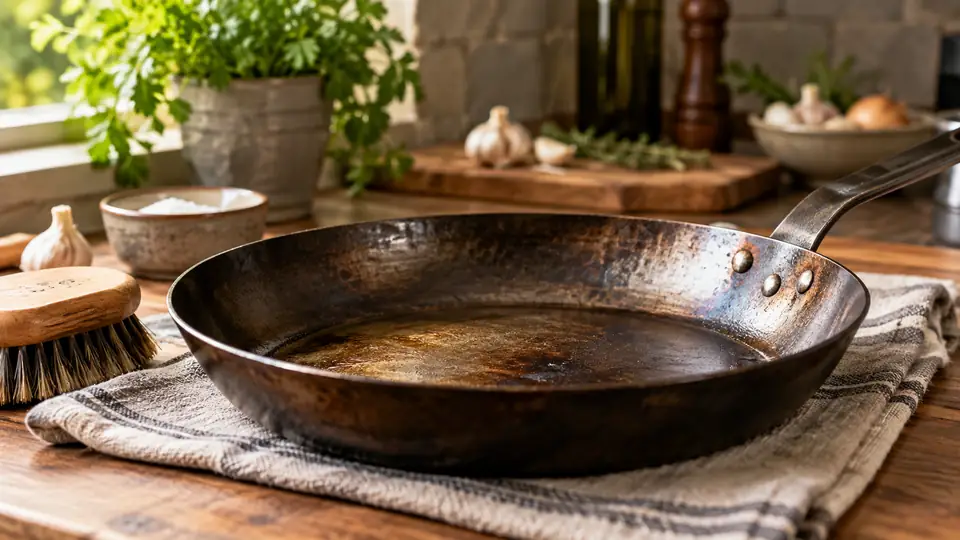
The first coat may look patchy, amber, or slightly blotchy. That is normal. A dark, even finish usually develops after several rounds of seasoning and regular use.
7. Repeat if needed
One coat is often enough to start cooking, but a few cycles usually give better results. Repeat the oil-and-heat process two or three times if the pan still looks bare or uneven. Each layer adds a little more protection and improves the surface gradually.
Do not expect a brand-new pan to look deeply black after one session. That finish usually develops through a combination of seasoning and cooking over time.
Oven Seasoning vs Stovetop Seasoning
| Method | Best For | Advantages | Limitations |
|---|---|---|---|
| Oven seasoning | Even coverage on the whole pan | More uniform heat, easy for multiple pans | Uses more time, may not be ideal for very large pans |
| Stovetop seasoning | Quick touch-ups and focused seasoning | Fast, controlled, practical for daily maintenance | Can create uneven heating if the burner is small |
For a first seasoning session, the oven is often the easier choice if your pan fits comfortably. It gives a more even result and reduces hot spots. Stovetop seasoning is useful when you want to refresh the surface after cleaning or after noticing a weak spot.
Some cooks use both methods. They start with oven seasoning to build the base layer, then use the stovetop occasionally after washing the pan.
Choosing the Right Oil
Neutral oils with a relatively high smoke point are usually the most practical choice. Canola, grapeseed, sunflower, and avocado oil are common options. The important thing is not that the oil is expensive, but that it can form a stable seasoning layer when heated correctly.
Flaxseed oil is often discussed in seasoning conversations because it can form a hard coating, but it can also be brittle and prone to flaking if applied too thickly. For many home cooks, a simpler oil gives more predictable results. The best seasoning oil is often the one you can apply in a very thin layer and heat without creating a sticky finish.
If you are building your cookware around everyday use, oil choice is only one part of the picture. Pan shape, heat source, and thickness also matter. For example, a pan intended for induction may heat differently from one used on gas, which can affect how quickly seasoning builds. If you are comparing options for a specific cooktop, the article on the best carbon steel pan for induction explains why flatness and heating behavior matter.
Common Mistakes When Seasoning a Carbon Steel Pan
Using too much oil
This is the most common mistake. A thick layer does not create a better coating. It usually leaves a sticky surface that can feel gummy even after heating. Always wipe the pan until it looks nearly dry.
Not drying the pan fully
If any moisture remains, rust can develop quickly on bare steel. Always heat the pan after washing, even if it already looks dry. That extra step prevents problems later.
Heating too aggressively
Very high heat can burn the oil before it bonds properly. That may create smoke, uneven patches, or a rough finish. Moderate heat is usually safer and more controllable.
Expecting a perfect finish right away
Seasoning improves with time. A first coat may look uneven, and that does not mean the pan failed. Regular cooking and occasional re-seasoning usually refine the surface.
Using harsh detergents or soaking the pan
Carbon steel does not like long soaks. Prolonged contact with water can weaken seasoning and encourage rust. Wash quickly, dry quickly, and store the pan dry.
How to Tell If the Seasoning Worked
A successful first layer usually looks darker than bare steel and feels smoother to the touch. The pan may still have some color variation, but it should no longer look raw and shiny in the same way an unseasoned pan does.
During cooking, food should release a little more easily, especially if you preheat the pan and use enough oil. The surface does not need to be perfectly black to work well. In fact, a pan can cook beautifully long before it reaches a deep, uniform patina.
If the surface feels sticky, the oil layer was probably too thick. If it rusts quickly, the pan may not have been fully dried or seasoned enough for storage. Both issues are fixable with another careful round of cleaning and seasoning.
Maintenance After Seasoning
Once the pan is seasoned, keep the care routine simple. Wash it after use with hot water and a soft sponge. Use soap only when needed, then dry the pan immediately and warm it briefly on the stove to remove hidden moisture.
After drying, some cooks rub on a tiny film of oil before storing the pan. That is not always necessary, but it can help if your kitchen is humid or if the pan will sit unused for a while. Store it in a dry place.
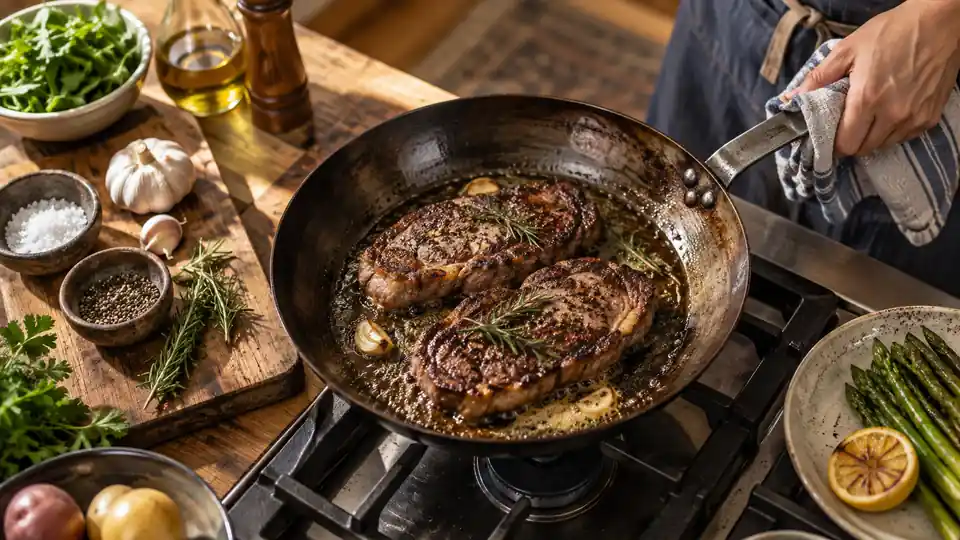
Regular use will continue to improve the surface. Sautéing vegetables, frying potatoes, searing meat, and cooking shallow-oil dishes all contribute to a stronger seasoning layer over time. For practical guidance on daily care, see best carbon steel skillets for shape and handling considerations, especially if you want a pan that feels comfortable to maintain often.
What to Do If the Seasoning Goes Wrong
If the pan becomes sticky, wipe it with a little warm water and remove any loose residue. Then dry it well and reapply a much thinner coat of oil. Sticky seasoning usually means too much oil or not enough heat.
If rust appears, remove it gently with a sponge, a soft scrub pad, or a small amount of abrasive cleaner designed for cookware, then dry and reseason the affected area. Light rust is common and usually not a sign that the pan is ruined. It is better to correct it quickly than to let it spread.
If the seasoning flakes, the coating may have been built too thick. In that case, scrub the loose pieces off, clean the pan, and start again with thinner layers. Flaking is frustrating, but it is usually caused by application technique rather than a defect in the steel itself.
Best Practices for Long-Term Results
- Cook with moderate oil during the first few uses.
- Preheat the pan before adding food to reduce sticking.
- Use wooden, silicone, or metal utensils as appropriate, since carbon steel is durable.
- Do not store the pan while damp.
- Re-season lightly if the surface starts to look pale, dull, or patchy.
Long-term seasoning is built through a mix of deliberate care and normal cooking. A pan that gets used regularly often develops a better surface than one that is repeatedly over-handled and over-scrubbed. A little patina is a sign that the pan is doing its job.
Frequently Asked Questions
How many times should I season a carbon steel pan?
Two or three rounds are often enough to create a good base layer, but you can repeat the process more if the surface still looks uneven. The pan will continue improving through normal cooking.
Can I season carbon steel with olive oil?
You can, but it is not usually the easiest choice because extra virgin olive oil has a lower smoke point and a stronger flavor. Neutral oils like canola, grapeseed, or sunflower are usually more predictable for seasoning.
Do I need to season a pre-seasoned pan?
Not always, but a light seasoning session can still help. Factory pre-seasoning is often a useful starting point, yet many cooks build a better surface with a few home seasoning cycles.
Why does my pan look blotchy after seasoning?
Blotchiness usually means the oil layer was uneven or a little too thick. The pan may still be usable. A few more thin seasoning layers often smooth out the appearance.
Is stovetop seasoning better than oven seasoning?
Neither method is universally better. Oven seasoning is usually more even, while stovetop seasoning is quicker and useful for touch-ups. The better method depends on the pan size and your kitchen setup.
Can I use soap after seasoning the pan?
Yes, mild soap is generally fine when used sparingly. The bigger risk is soaking the pan or leaving it wet. Drying the pan thoroughly matters more than avoiding every trace of soap.
Final Thoughts
Learning how to season a carbon steel pan is mostly about patience and thin layers. Clean the pan, dry it well, apply a small amount of oil, and heat it until the oil bonds. Repeat the process as needed, then maintain the surface through normal cooking and careful drying.
A good seasoning layer does not happen all at once. It develops through use, especially when the pan is treated as a working tool rather than fragile cookware. Once the surface settles in, carbon steel becomes easier to cook with, easier to clean, and far more resistant to the rust and sticking that bother new owners.

Leave a Reply